<< 使用Weblogic JMS监控log4j的日志 | 首页 | JMS 代码示例 >>

配置Weblogic 9.2 JMS (Configuring Weblogic JMS)

This is a basic example of how to implement Messaging in Java using JMS and Message driven beans. The example is implemented using Weblogic JMS implementation. This part describes how to configure a queue on weblogic, the next part will describe the programming involved to run the example.Follow these steps to configure a queue in Weblogic:
  1. Create a JMS Server
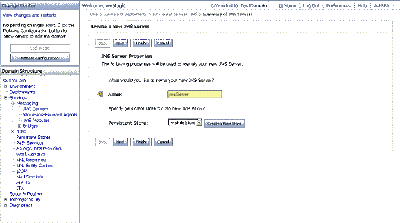
    1. In the admin console go to Home > Summary of Services: JMS > Summary of JMS Servers and click on Lock & Edit and then click on New.
    2. In the next screen choose a name and create a new File Store and click next.
    3. Select the deployment target and finish.
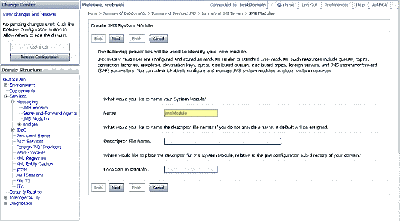
  2. Create a JMS Module: Go to JMS Modules in the Admin console and create a new module, accept defaults.
  3. Create a Connection Factory: Go to Home > JMS Modules > jmsModule. Select new and create a new connection factory. Set the JNDI name to jms/connectionFactory
  4. Create a Destination: Go to Home > JMS Modules > jmsModule and Create a new Queue and set the JNDI name to jms/testQueue. When creating a queue, select "create a new Sub deployment" and create a new sub-deployment.

标签 : , ,


发表评论 发送引用通报